

Metal Inset Shapes (3-Part Cards)
£2.50
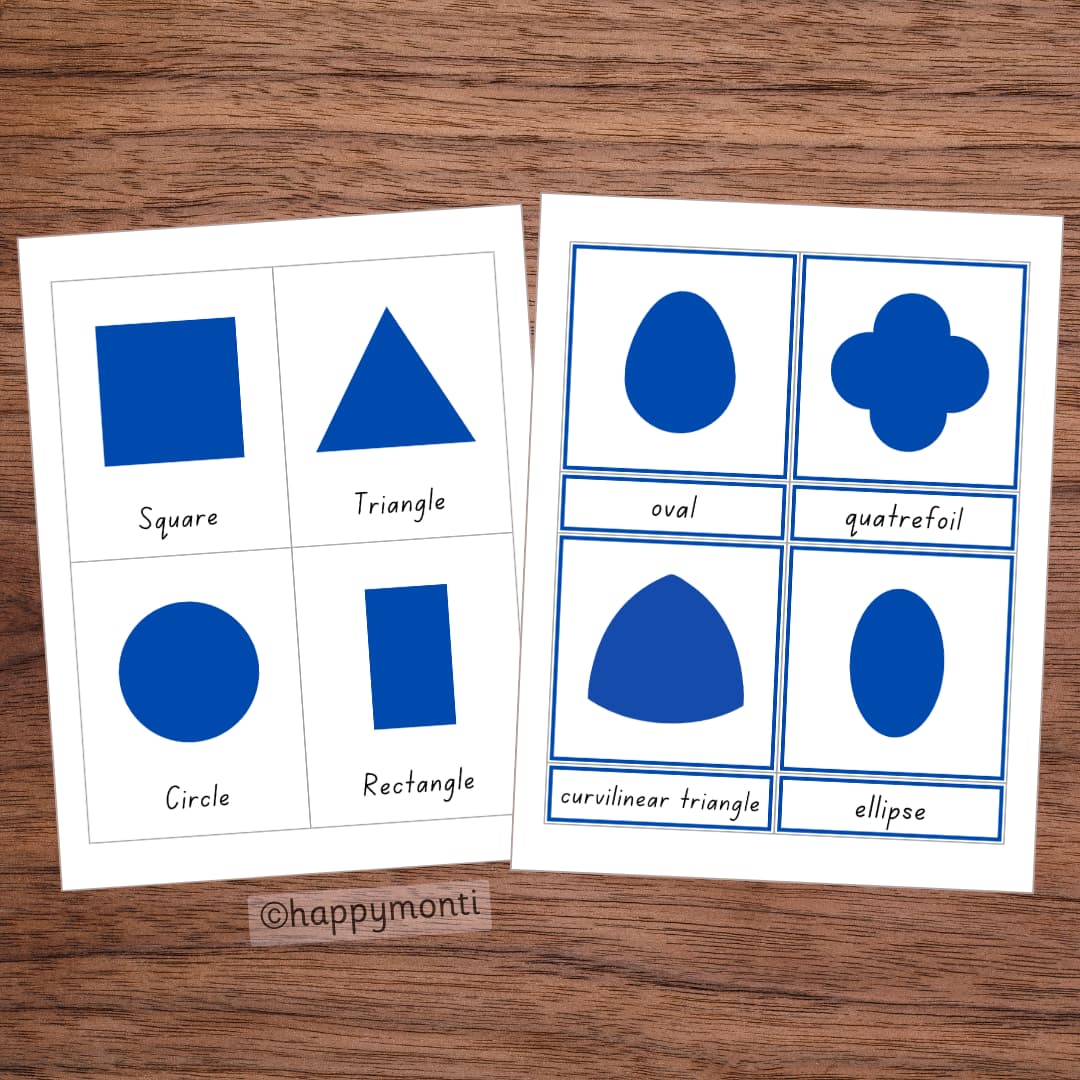
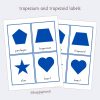
Montessori nomenclature cards featuring all 10 of the metal inset shapes (oval, circle, square, rectangle, triangle, ellipse, curvilinear triangle, pentagon, trapezium/trapezoid, quatrefoil), as well as the 2 added shapes (heart and star).
Card Dimensions: 12cm x 9.5cm x 2.5 cm ≈ 4.75″ x 3.75″ x 1″
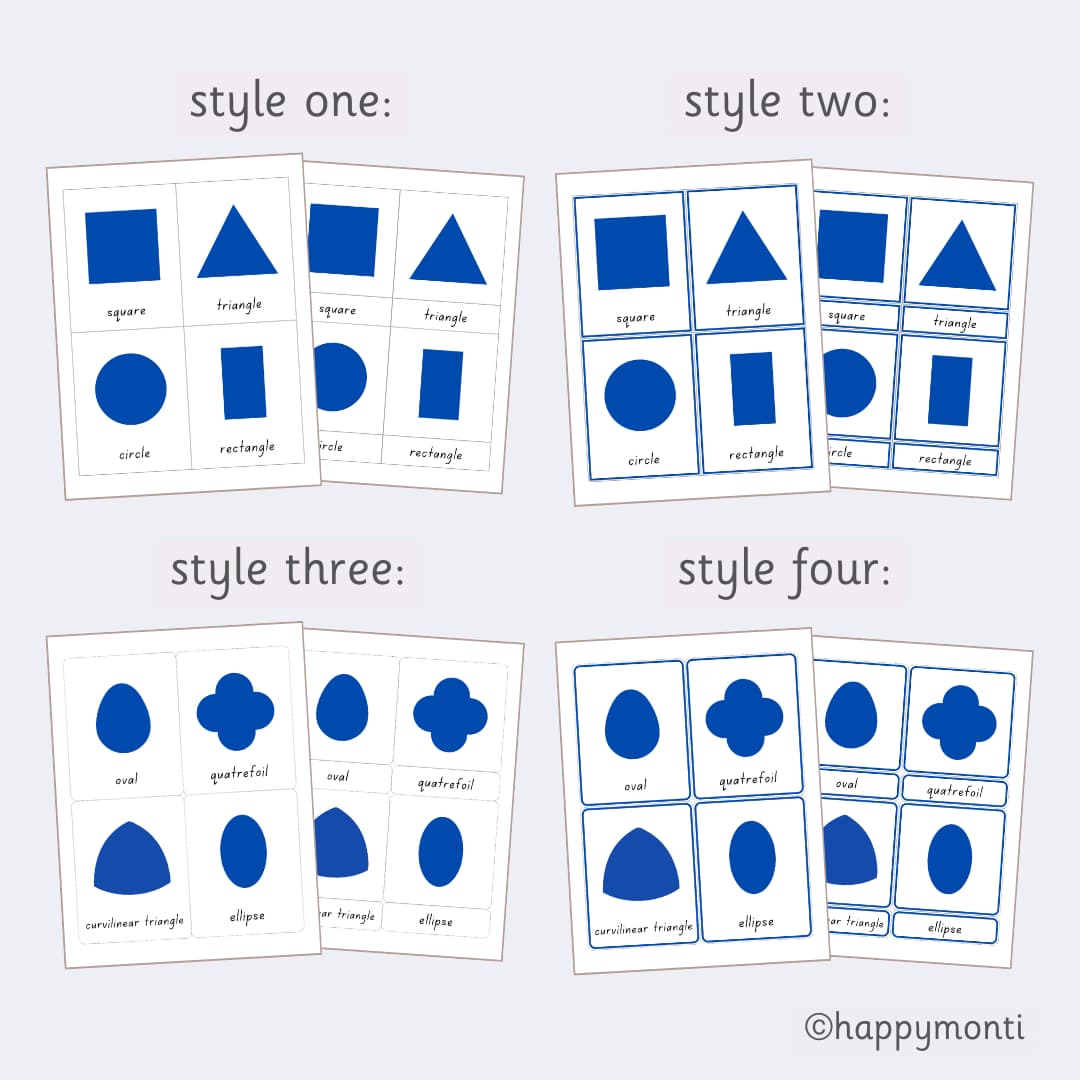
Styles Included: 4
File Format: PDF
Page Count: 64
Paper Size: A4 | US Letter
Card Dimensions: 12cm x 9.5cm x 2.5 cm ≈ 4.75″ x 3.75″ x 1″
Styles Included: 4
File Format: PDF
Page Count: 64
Paper Size: A4 | US Letter
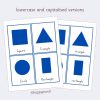
Each set of cards consists of three parts: a control card (featuring an image and its matching word label), a picture card (featuring an isolated image), and a label card (featuring only the word label).
This particular set of three-part cards features all 10 of the metal inset shapes, as well as 2 added shapes (heart and star):
- Control Card: Includes the shape image and shape name.
- Picture Card: Features only the shape image.
- Label Card: Features only the shape name.
Preparing Your Three-Part Cards:
Choose your preferred card style. Print the cards on heavy card stock for durability, or standard computer paper if you intend to later laminate them. Cut the cards along the lines to separate the control, picture, and label cards. Laminate (optional).
How to Use Three-Part Cards to Give a Three-Period Language Lesson:
Children progress through three stages when mastering new words:
- Naming (Stage 1): The adult introduces new vocabulary verbally* using isolated picture cards.
- Associating (Stage 2): The child practices connecting the name with the picture.
- Recalling (Stage 3): The child independently identifies the vocabulary they’ve learned.
*It may seem counterintuitive to only introduce the isolated picture card instead of the control card that features both the picture and word. The reason picture cards are used in isolation first is because the primary goal of a language lesson is to build verbal vocabulary; reading lessons come later.
The three stages (naming, associating and recalling) provide the structure for a traditional three-period lesson.
Period 1:
Lay the deck of picture cards face down, or place the set of cards next to you and out of the child’s direct line of sight. Cycle through the picture cards, naming each one before placing it in a line (or inviting the child to place it down).
"This is an oval. Would you like to place it over there?" (point to where on the mat you would like the child to place the card).
Once you have cycled through all the picture cards and placed them in a line, go down the line, pointing and naming each picture card. This concludes the naming stage of the three-period lesson.
Period 2:
To move onto the association stage, give the child opportunities to associate names with picture cards by giving instructions to the child:
"Show me the circle.", "Point to the rectangle.", "Can you pick up the triangle?", "Give me the quatrefoil.", "Touch the pentagon.", "Put the star here/there (gesturing)."
*Give two instructions for the same card, one after the other, to emphasise a name, such as:
"Can you pick up the triangle?" – "Can you place the triangle back on the mat?"
"Show me the star." – "Move the star here/there (gesturing)."
If the child makes a mistake at this stage, offer a kind correction and another opportunity to practice associating the new words: "Thank you for showing me the triangle. Can you show me the rectangle?"
Gauge the child’s attention and continue to give instructions to the child for as long as the child shows interest. Three-period lessons to introduce new language are often brief (5-15 minutes). Stay observant so as not to tire the child by stretching the time spent at this stage beyond what they can handle comfortably.
Period 3:
Conclude the three-period lesson by moving on to the recall stage. Point to each picture card and ask the child, "What is this?" or "Do you remember what this shape is called?" Do not correct the child at this stage if they are wrong. Instead, revisit the vocabulary with another three-period lesson, on a separate occasion.
To complete the language lesson, model how / invite the child to put the cards away (i.e. in a box, on a tray, in a pouch).
I have written a separate post as a reference. It includes further information on how to pre-check a child's known vocabulary, as well as how to use three-part cards (with the word labels and control cards) for a reading-based lesson.
Follow-Up Work and Activity Ideas Beyond the Three-Period Lesson:
- Shape Colouring: Encourage children to colour in outlined versions of the shapes. Extend the activity by rotating art materials for the child to 'colour' with (watercolour paints, felt-tip pens, colouring pencils, crayons, etc.).
- Memory Game: Lay all the cards face down. Take turns flipping two cards at a time to find matches (e.g., the picture card and label card for the same shape, or the picture card and control card for younger learners). Continue until all the pairs are matched.
- Simple Sorting: Ask the child to categorise or group shapes based on a certain criterion (i.e. number of sides, number of corners or line type).
- Advanced Sorting: Mix a second very different set of picture cards that you have previously completed a three-part lesson on, perhaps animals or fruit. Ask the child to sort through and categorise the picture cards, naming each picture card aloud as they sort.
- Booklet Making: Prepare small blank pages for the child: leave space for the child to draw / colour each shape and pre-draw lines (or provide a ruler) so the child can copy the label name. Depending on the child's ability, it may be of greater benefit to offer prepared booklet pages.
- Observation Game / What's Missing?: Lay out three cards, and go over the vocabulary of the three cards. Ask the child to close their eyes while you remove one. Ask the child to identify which card is missing. Add a different card back in and keep playing for as long as the child is interested. Add more cards to increase the game's difficulty.
- Shapes in Real Life: Use photo examples of the shapes in real life and ask the child to match them. You can use a set of photo cards or a prepared matching activity.
- Identify Beginning Sounds: Lay out the picture cards (or control cards, depending upon the skill being practised - i.e. letter matching / isolating beginning sounds). Have the child use a movable alphabet (or letter cards, letter tiles, letter magnets, etc.) to identify the first letter of each shape.
- Alphabetical Sorting: Lay out a selection of label cards and have the child arrange them in alphabetical order.
- Write the Room: Hide / tape the control cards around the room. Give the child a clipboard and a pencil, and invite them to find and copy the name on each control card. You can alternatively use this prepared write the room resource.
- Pin Punching: Use the shape outlines for a pin punching activity. Trace the shape outlines onto suitable paper or use these prepared pin punching templates.
- Multi-Lingual Extension: Label the shapes in another language, such as Spanish, French, or Arabic. Practice saying the shape names aloud in your chosen language.
Extra Tips:
- It is generally advisable to introduce 6-12 cards at a time. For this set of shape cards, you may choose to introduce all the vocabulary at once or separate the vocabulary into two lessons; this decision will largely depend upon a child’s age and language assimilation ability.
- Make sure children are familiar with the process of packing away the cards, whether they live on a tray, in a pouch or in a box.
- Store the cards in a designated, accessible place – review vocabulary when it makes logical sense to do so.
- Where appropriate and possible, nurture independence and consolidation by presenting a follow-up work to reinforce learning (e.g., colouring pages of shapes, making a shape booklet, writing the room, or a shape matching activity).
Engaging Struggling / Disengaged Learners:
Multi-Sense Learning: Some children struggle, even during their sensitive period for language, to make contact and connections with language learning. One strategy I have found particularly useful is to engage those children through a different access point (i.e. gross-motor, fine-motor or sensorial). I have written two separate blog posts outlining activity ideas; you click through each title to read more.
“20 Ways to Use Movement with Three-Part Cards for Struggling Language Learners”
Further Product Details:
This resource features 12 sets of three-part cards in 4 different styles to support the introduction and mastery of identifying shapes. There are 32 pages included in this digital product; 8 pages of cards for each style included (each style features a different border – simple square lines, blue square lines, simple rounded lines, and blue rounded lines). I hope that within the variety, there is a suitable version for your classroom / homeschool needs.
✱ Full list of included vocabulary: oval, circle, square, rectangle, triangle, ellipse, curvilinear triangle, pentagon, trapezium/trapezoid, quatrefoil, heart, star (lowercase and capitalised versions of each label are included).
✱ Please be aware that no physical product will be sent to you in the post; this is a digital file.
If you have any questions or suggestions, feel free to reach out. If you would like to share what activities / projects you get up to, I would love to see them! You can leave a review with your pictures or email me on the contact page.
✱ This printable is for personal use only. Products sold by 'Happy Monti' may not be resold, amended or shared without written permission directly from me, the shop's owner. Thank you!
Reviews
There are no reviews yet.